

When a scope comes back with a dented or creased cord between the control body and the connector, it is tempting to treat it as cosmetic. It usually isn’t. That cord — called the light guide tube, LG tube or universal cord depending on the manufacturer — carries the parts that make the image and the procedure possible. This guide explains what is inside it, how it gets damaged, which damage can be repaired, and what to check before you order a replacement.

What the light guide tube does
The light guide tube runs from the control body to the light guide connector, the end that plugs into the light source or video processor. Power and light — and in more complex scopes, the suction channel and air/water channels — travel through it to the control body.[1]
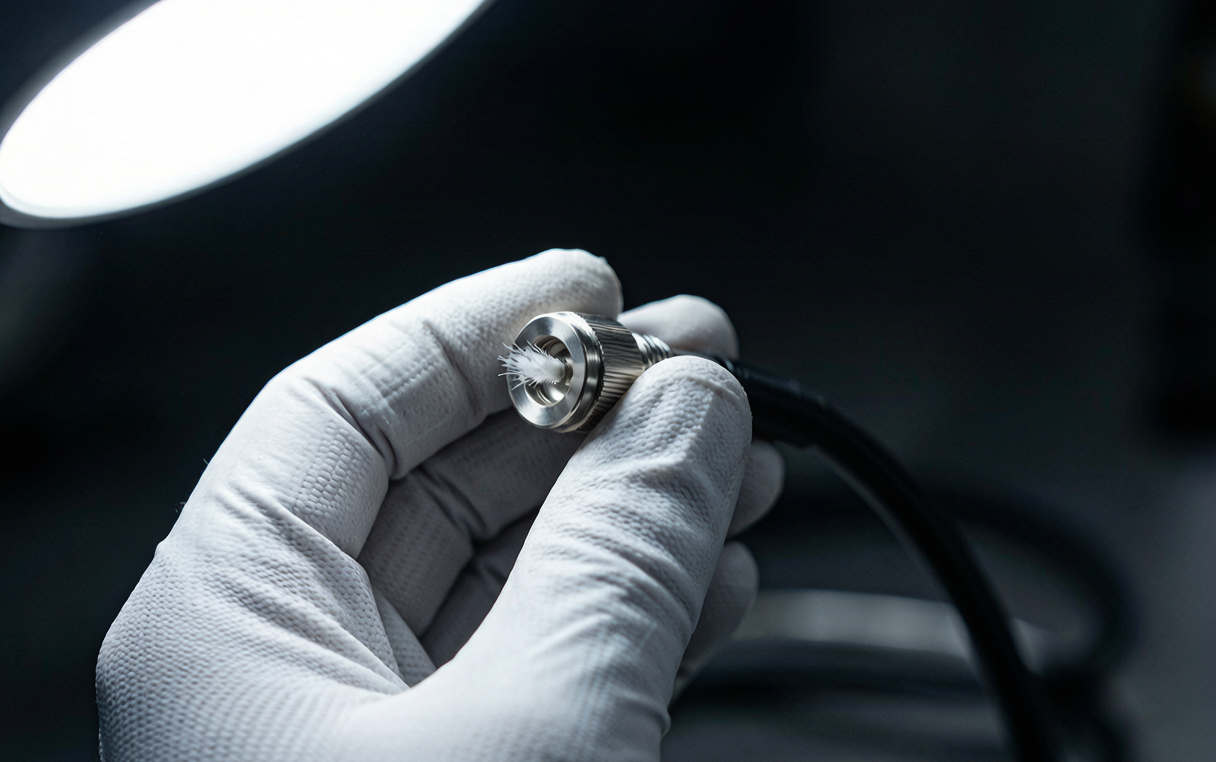
The most delicate thing inside is the light guide bundle: tens of thousands to hundreds of thousands of glass fibers, each tens of micrometers thick, that carry light from the source to the distal tip.[2] The tube is what protects those fibers, plus the channels and wiring running alongside them, from being bent, crushed or soaked.
Repair shops point out that a lot is hidden inside the cord’s hollow tubing, so damage that looks minor on the outside can turn out to be a major repair once the scope is opened.[3]
How light guide tubes get damaged
Olympus lists the insertion tube and light guide tube among the parts most likely to suffer serious damage, and names three conditions: buckled, compressed and cut. Its guidance is not to use the scope, however well it seems to work, if any of them is present.[4]
| Damage | Typical cause | What it can lead to |
|---|---|---|
| Buckle or kink | Coiling the scope too tightly during storage, transport or cleaning[4] | Channels inside kinked at the same spot[3][5] |
| Dent or compression | A cabinet door or reprocessor lid closed on the tube[4] | Weak spot that can get worse over time[3] |
| Cut or pinhole | Sharp instruments during manual cleaning, or a severe kink[5] | A path for fluid to reach the inside of the scope[5] |
| Strain near the ends | Stress where the tube meets the boots at the connector and the control body[3] | Buckles or pinholes at the most-flexed points[3] |
| Peeling outer layer | Long exposure to certain cleaning agents[3] | Damage beyond repair; the tube has to be replaced[3] |
Two points from this table matter most in day-to-day work:
- Damage on the outside often repeats on the inside. If the tube is kinked at one point, the suction or air/water channel inside is often kinked at exactly the same point.[3][5] Check channel flow after any visible buckle.
- A hole in the tube is a leak. Olympus notes that leaks are the number one reason endoscopes are sent in for repair, and that most of them are preventable with careful handling.[4] Leak-test the scope before reprocessing it; our leak testing guide covers the procedure.
Warning signs to check at each inspection
Run your hand and eye along the full length of the tube, from the control body boot to the connector boot:
- Shape: any flat spot, crease or permanent bend that wasn’t there before.
- Surface: cuts, pinholes, scuffs, or an outer layer that looks dull, sticky or is starting to peel.
- Both ends: the sections right next to the boots, where strain damage most often shows up.[3]
- Leak test: bubbles from the tube during the leak test point to a breach in its covering.[4]
- Function: weak suction or air/water feed after the tube was kinked, and dimmer light if the fibers inside were crushed. For judging light loss, see measuring light guide bundle output loss.
Repair or replace?
Independent repair shops describe three levels of repair for this part:[3]
- Dent removal — a minor repair for a dent with no internal damage. The dent should be dealt with early, because a dented spot can weaken over time.
- Strain repair — reinforcement over a buckle or pinhole. Total Scope describes it as a temporary fix that can create weak spots on either side, and uses it only when, for example, the scope is due to be retired soon or the budget is very tight.
- Full replacement — needed when the tube is badly dented, cut, bent or peeling. It is a major repair: the tube comes off the scope completely and the parts inside are exposed. If a channel inside is also damaged, it is usually replaced at the same time.
If a scope shows any of the three conditions Olympus lists (buckled, compressed or cut), it should come out of service until it has been assessed.[4]
What to check before ordering a replacement light guide tube
A replacement tube has to match the scope it is going into. Before you order, have this ready:
- Scope brand and model. Medwalt’s light guide tubes are made to fit Olympus®, Pentax® and Fujinon® platforms.[1]
- Tube type. We supply both a common (single) tube and a Y-type tube, which branches into two ends.[1] A photo of the old tube shows which one you need.
- Length and outer diameter. Match the original part. We don’t publish one size for all models, because the right size depends on the scope.
- The parts that go with it. A tube replacement is a good time to check the stress relief boots at both ends and the light guide bundle inside. Other connector-end and insertion parts are under insertion and light guide tubes.


How to keep a light guide tube from failing
These come from Olympus’s damage-prevention guide and operation manuals:
- Coil loosely. Olympus manuals say not to coil the insertion tube or universal cord into a diameter of less than 12 cm.[4][6] Check your own model’s manual for its exact figure.
- Don’t pull on the cord during a procedure, and don’t rest the connector on the insertion section during transport or reprocessing.[6]
- Watch doors and lids. Know where the tube is before closing a storage cabinet or reprocessor lid.[4]
- Keep sharp instruments away from the tube during manual cleaning.[5]
- Leak-test every time, before reprocessing.[4]
Frequently asked questions
Is the light guide tube the same as the universal cord?
Yes, in most cases. Different manufacturers and repair shops use different names — light guide tube, LG tube, universal cord or umbilical cord — for the cord between the control body and the light guide connector.[1][3][4]
Can a dented light guide tube be repaired?
A simple dent with no internal damage can often be reshaped as a minor repair. A cut, a severe dent or a peeling outer layer usually means the tube has to be replaced.[3]
Why does suction drop after the light guide tube was kinked?
The suction channel runs through the tube. When the tube kinks, the channel inside is often kinked at the same point.[3][5]
What is the difference between a light guide tube and a light guide bundle?
The bundle is the set of glass fibers that carries the light. The tube is the outer covering that protects the bundle and the channels and wiring running with it.[1][2]
How tightly can I coil an endoscope?
Olympus manuals say not to coil the insertion tube or universal cord into a diameter of less than 12 cm. Check your model’s manual for its exact limit.[6]
Need a replacement light guide tube for an Olympus, Pentax or Fujinon scope? Contact Medwalt with the scope model and a photo of the old tube, and we’ll confirm the right part.
Sources
- Medwalt, Endoscope Light Guide Tube product page.
- Medwalt, Light Guide Bundles product page.
- Total Scope, Inc., “How Long Does Flexible Endoscope Repair Take?” (universal cord section).
- Olympus America, “Identifying and Reducing Preventable Flexible Endoscope Repairs” (pp. 6, 36–38 and leak testing section).
- Total Scope, Inc., “Tips to Prevent Scope Damage”.
- Olympus, BF-XT190 operation manual (also the same wording in GIF-EZ1500 and BF-H1100 manuals).
Featured image: “Endoscopy” by Linda Bartlett, National Cancer Institute, public domain, via Wikimedia Commons.
